Armour stone retaining walls are a popular choice for landscape design due to their natural beauty and durability. These walls provide excellent erosion control, support for slopes, and can enhance the aesthetic appeal of any property. This guide walks you through the step-by-step process of installing an armour stone retaining wall, ensuring a professional and long-lasting result.
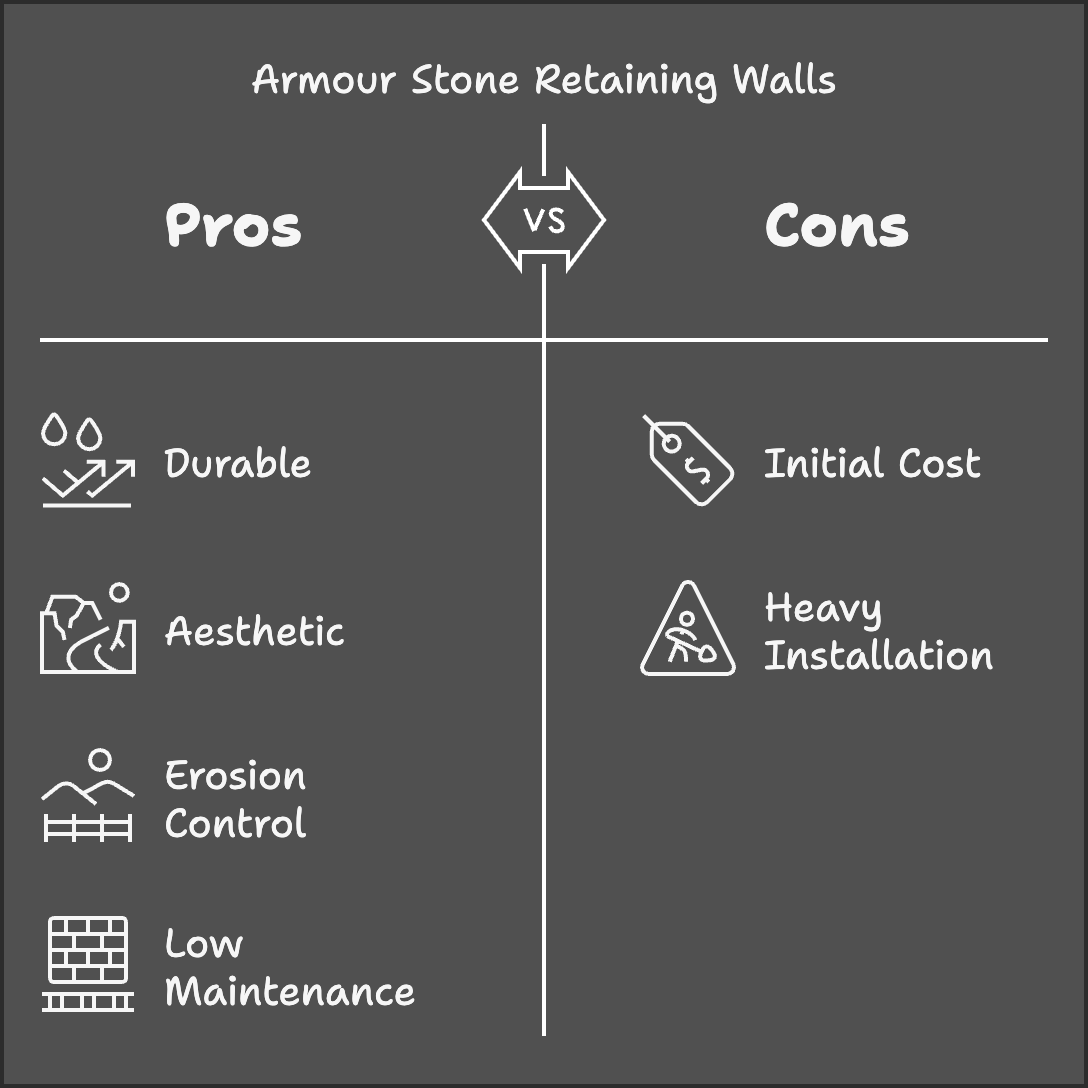
Armour stone is known for its strength and longevity. These stones can withstand harsh weather conditions and heavy loads, making them ideal for retaining walls.
The natural look of armour stone adds a timeless beauty to landscapes. Each stone is unique, providing a rustic and elegant appearance.
Armour stone retaining walls effectively prevent soil erosion, especially on slopes, protecting your property and maintaining the integrity of your landscape.
Once installed, armour stone retaining walls require minimal maintenance. They are resistant to pests, rot, and do not need frequent repairs.
Evaluate the site where you plan to install the retaining wall. Consider factors like soil type, slope, drainage, and the height of the wall.
Create a design plan for your retaining wall. Determine the length, height, and curvature of the wall. Mark the area using stakes and string to visualize the layout.
Check local building codes and regulations. Obtain any necessary permits before beginning construction to ensure compliance with local laws.
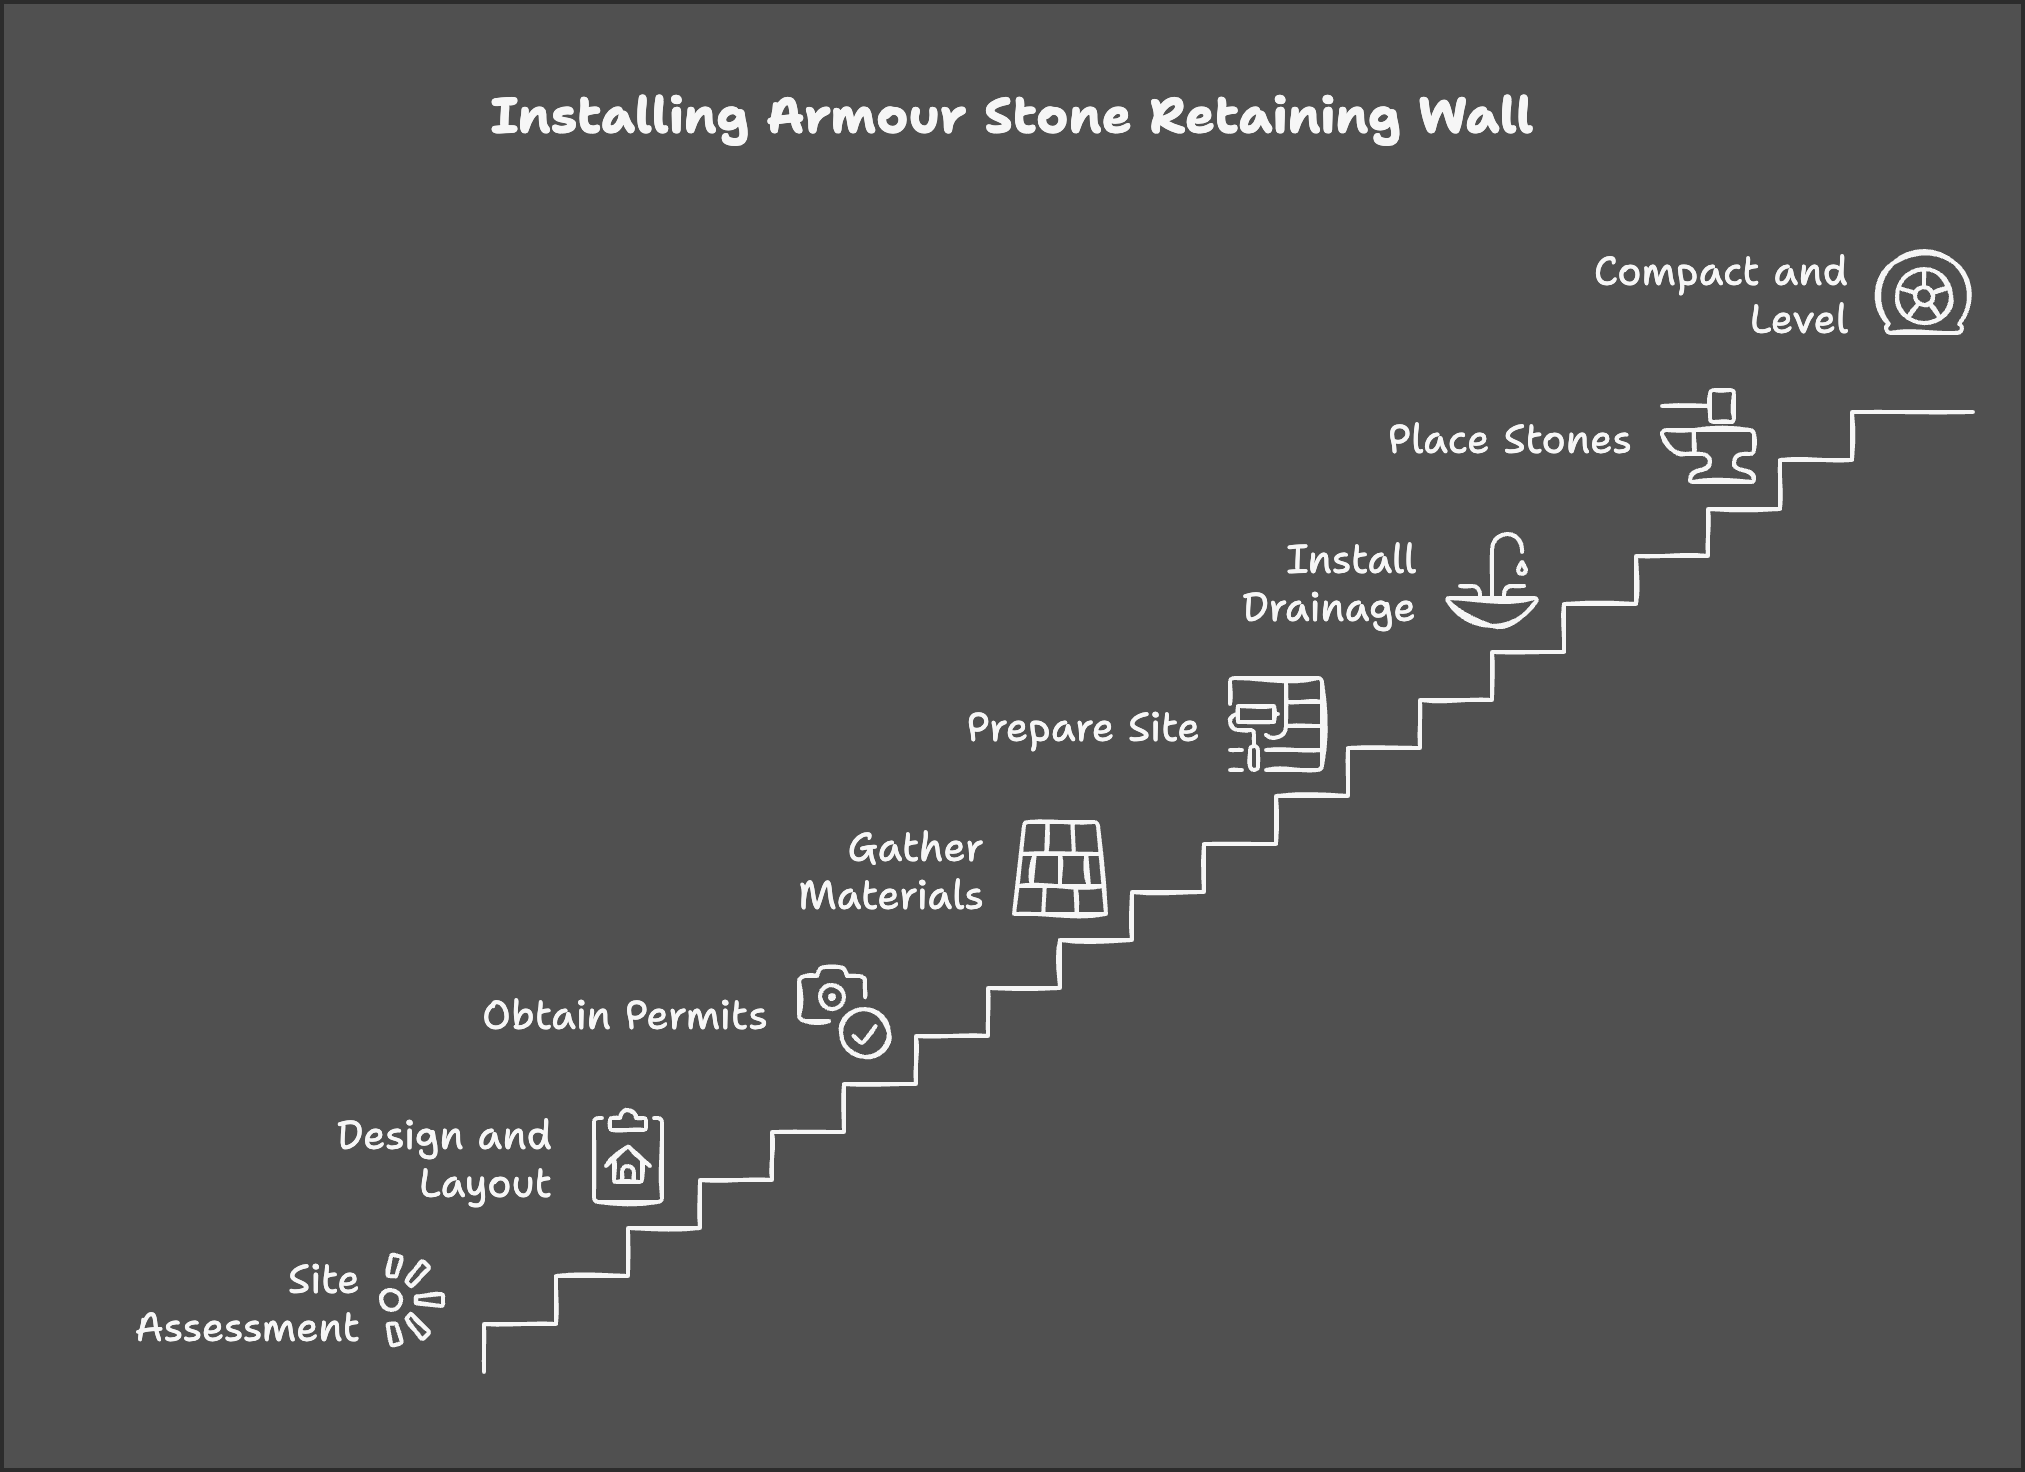
Excavate the area where the retaining wall will be built. Dig a trench that is 6-12 inches deep and twice as wide as the armour stones. This trench will serve as the foundation.
Level the bottom of the trench using a hand tamper or plate compactor. Ensure the base is firm and even to provide a stable foundation for the wall.
Fill the trench with a 4-6 inch layer of gravel or crushed stone. Compact the base material to create a solid foundation. This helps with drainage and stability.
Place the first course of armour stones in the trench. Position the stones carefully, ensuring they are level and aligned. Use a level to check each stone and make adjustments as needed.
Backfill behind the first course with gravel. This adds support and stability to the wall. Compact the backfill material to prevent settling.
Lay a drainage pipe behind the first course of stones. This pipe will help prevent water buildup and reduce pressure on the wall.
As you lay additional courses of stones, stagger the joints between rows. This increases the wall's stability and strength.
Continuously check that each stone is level and aligned with the previous course. Use small pieces of gravel to adjust and level stones if necessary.
Backfill with gravel after each course, compacting the material to ensure stability. This helps maintain the integrity of the wall and improves drainage.
Install landscape fabric behind the wall before adding soil. This fabric prevents soil from clogging the drainage system while allowing water to pass through.
Secure the fabric in place with stakes or by tucking it behind the stones. Ensure it covers the backfill area completely.
If desired, add a final course of capping stones for a finished look. These stones should be larger and flatter, providing a smooth top surface.
Backfill the area behind the wall with soil. Compact the soil to reduce settling and ensure the landscape fabric remains in place.
Inspect the wall for any gaps or uneven stones. Make final adjustments to ensure the wall is stable and visually appealing.
Inspect the wall periodically for signs of movement, erosion, or damage. Address any issues promptly to maintain the wall's integrity.
Keep the area around the wall free from weeds. Use mulch or ground cover to reduce weed growth and maintain a clean appearance.
Ensure the drainage system remains clear and functional. Check for blockages in the drainage pipe and remove any debris.
Manage the soil and plants around the wall to prevent excessive moisture buildup. Avoid planting large trees or shrubs close to the wall as their roots can cause damage.
Gravel or crushed stone is the best base material. It provides excellent drainage and stability for the wall.
Use a level and adjust each stone as you lay it. You can also use small pieces of gravel to shim and level stones.
Permit requirements vary by location. Check with your local building authority to determine if a permit is needed for your project.
Landscape fabric prevents soil from clogging the drainage system while allowing water to pass through, reducing pressure on the wall.
Regularly inspect the drainage pipe for blockages and remove any debris. Ensure the landscape fabric is intact and not clogged with soil.
Yes, with the right tools and materials, you can build an armour stone retaining wall yourself. However, for larger or more complex projects, professional assistance may be beneficial.
Installing an armour stone retaining wall is a rewarding project that can enhance the beauty and functionality of your landscape. By following this step-by-step guide, you can create a durable and attractive retaining wall that will stand the test of time. Whether for erosion control, slope stabilization, or aesthetic enhancement, armour stone retaining walls are a valuable addition to any property.
Curious about the full range of ways to use armour stone on your property? Explore our armour stone landscaping ideas for creative inspiration beyond retaining walls.